I thought I would take an opportunity to share with you the step-by-step process that I use, in this case, painting a portrait of a puppy.
First, I want to capture the puppy the way the owner wants to see her. This may be slightly different than the way that I would picture the puppy.
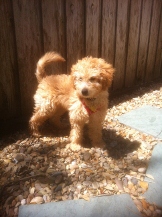
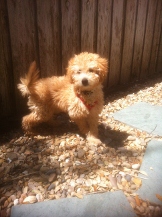
Two Pictures
In this case, Poppy’s owner wanted the puppy picture with the dog looking forward and the tail up. Try as she might, she was unable to get the exact photograph she wanted, so we worked from two different pictures to create a pose that is what she wanted.
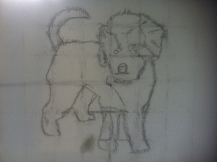
Drawing
The first step is for me to create a drawing that will show the pose and orientation. This is the first pass and forms the basis for the ultimate painting.
Wash
At this point, I have a design that will fit the pose desired, I do what is called a wash. This is where I start to introduce oil to the canvas, but without regard to really organizing final color. It is a way to start visualizing the dark and light areas in the picture.
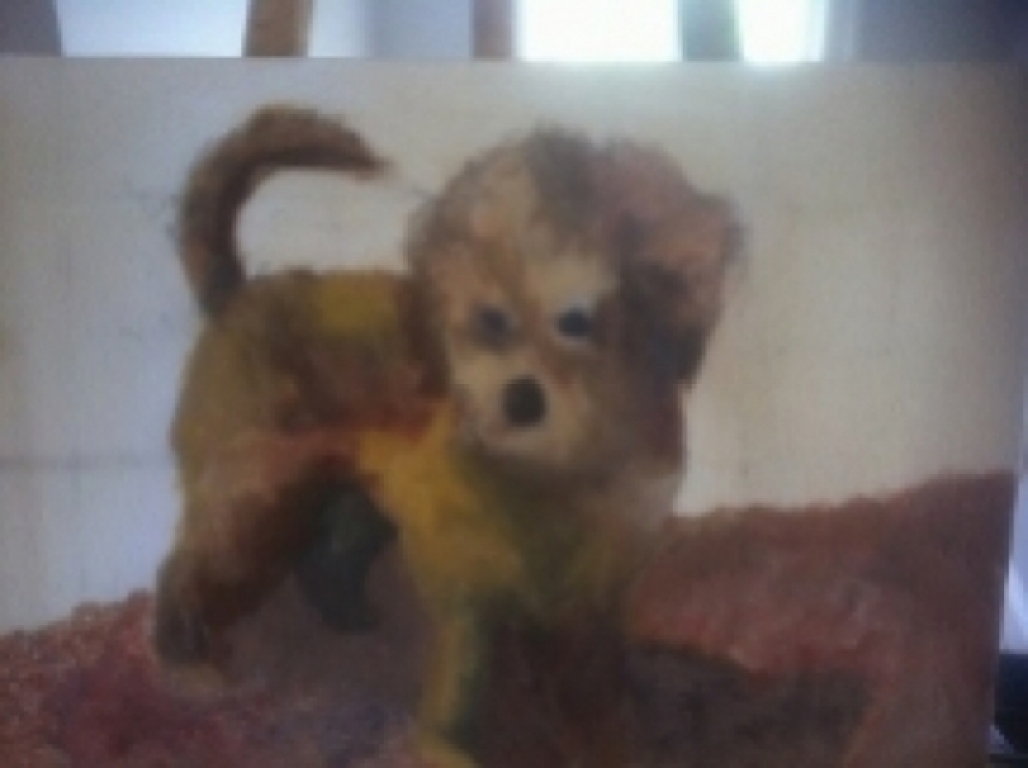
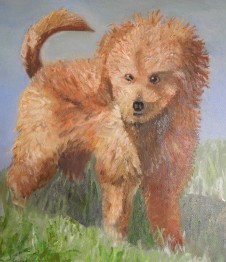
Final Painting
As you can see, in the final portrait, the background changed to one of field and sky. I felt that the fence and stones in the original background would not provide the best backdrop. I also lightened up the puppy and added final details.
I hope you enjoyed this look at my process. Please visit my Portfolio for a look at other portraits I have created.